How to Acclimate Fish Drip Method When you bring new fish home, the first hour matters more than most beginners expect. Water in a store bag or shipping container can differ from your tank in pH, hardness, salinity and temperature, and a sudden jump can stress or kill a fish. Learning how to acclimate fish with the drip method is one of the simplest ways to prevent fish acclimation shock, especially with sensitive species, saltwater fish and invertebrates.

This guide covers the full process: supplies, drip rate, timing, mistakes to avoid and what to do after drip acclimation.
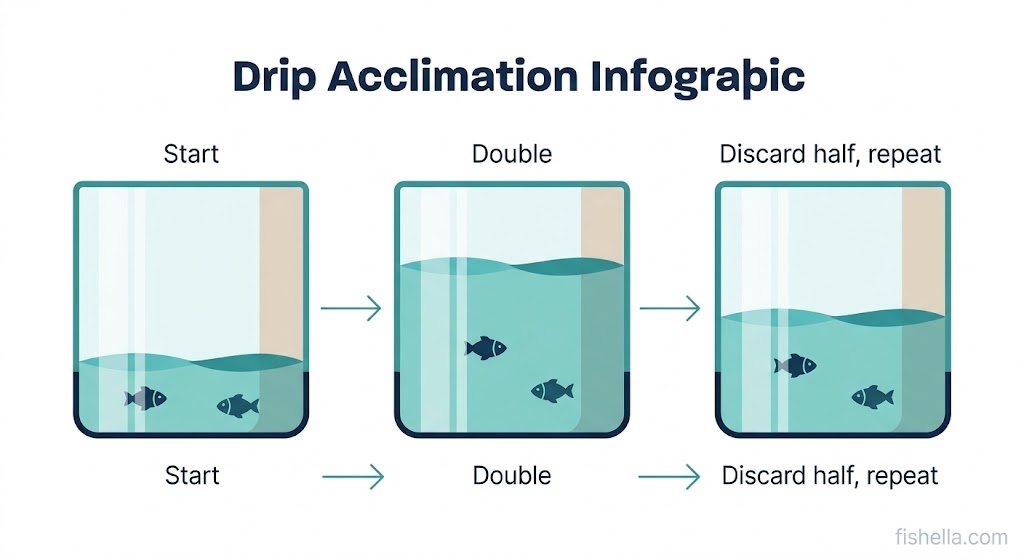
Quick answer: Float the sealed bag for 15 to 20 minutes, move the fish and their bag water into a clean container, then use airline tubing to drip tank water in at about 2 to 4 drops per second. When the water volume has doubled, discard half and repeat. Net the fish into the tank and never add the bag water.
What Is Drip Acclimation?
Drip acclimation is a slow, controlled way of acclimating new fish to your aquarium. Tank water travels through airline tubing and drips into the container holding your fish, gradually replacing the original water. The fish adjust to your aquarium water parameters a little at a time instead of all at once.
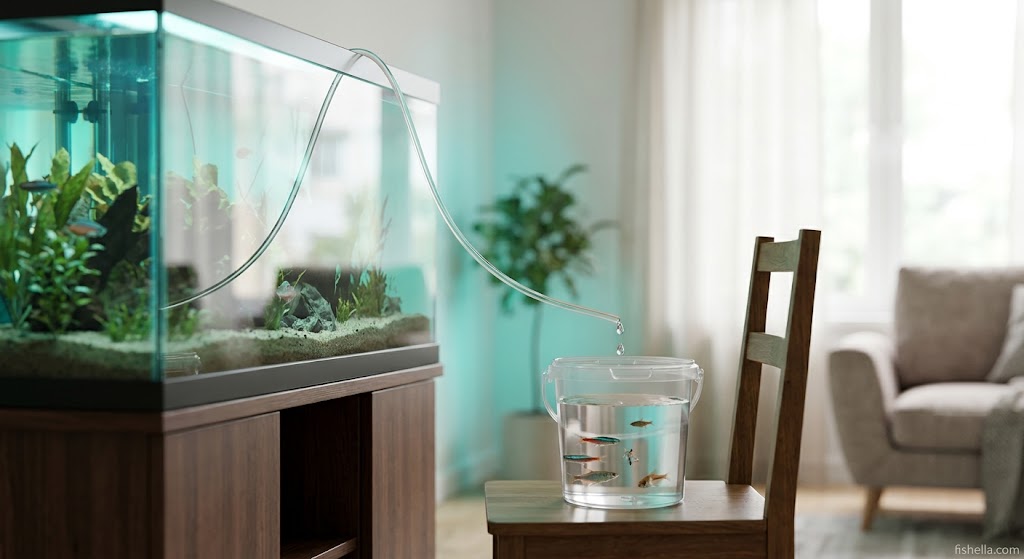
Retailers describe it as the precise approach compared with simply adding cups of tank water to a floating bag. LiveAquaria’s guide to the drip method explains that the technique introduces aquarium water at a rate of mere drops per second, which greatly reduces stress on new arrivals.
When Should You Drip Acclimate Fish?
Drip acclimation is not required for every fish. Hardy freshwater fish with water close to your tank’s often do fine with a simple float-and-mix method. Chewy’s fish acclimation guide makes the same point: floating suits hardier freshwater fish, while the drip method suits sensitive freshwater species, saltwater fish and invertebrates.
Choose the drip method when you are adding:
- Saltwater or reef fish
- Shrimp, snails, crabs and other invertebrates
- Sensitive freshwater fish such as discus or wild-caught species
- Fish from water that is clearly different from your tank water
Keeping a betta? Bettas usually arrive in small cups with very little water, so a long drip session can let ammonia build up. Follow our dedicated guide on how to acclimate a betta fish instead.
What You Need for Drip Acclimation
- A clean bucket or container used only for aquarium work
- Airline tubing for drip acclimation (about 3 to 4 feet)
- A flow control valve, or a simple knot or loose loop in the tubing to slow the flow
- A small net or cup
- A thermometer
- Test kits for your aquarium water parameters. If you need one, see our review of the API Freshwater Master Test Kit.
Commercial drip kits exist, but a length of airline tubing and a knot works well for most hobbyists.
How to Acclimate Fish Drip Method Step by Step
Step 1: Prepare the Tank First
Before the fish arrive, make sure the aquarium is set up, heated, dechlorinated and cycled. If you are not sure how, read our guides to setting up a freshwater aquarium and how to cycle a fish tank. Acclimation cannot make an uncycled tank safe.
Test your tank and write down the pH, temperature and, for saltwater, salinity. If you use tap water, learn how to dechlorinate tap water for an aquarium first.
Step 2: Dim the Lights
Turn off or dim the aquarium lights and keep the room quiet. Stressed fish are more vulnerable to shock.
Step 3: Float the Sealed Bag
Float the closed bag in your tank for 15 to 20 minutes so the temperature evens out. Do not open the bag yet.

Step 4: Move the Fish and Bag Water to the Container
Gently pour the fish and their water into your clean container. Use enough water to keep the fish fully covered, but keep the volume small enough that the drip makes a real difference. Cover the container loosely so fish cannot jump out.
Step 5: Set Up the Airline Tubing
Place one end of the tubing below the waterline in your aquarium and secure it. Start a siphon by sucking gently on the free end, or by filling the tube first, then place that end in the container and fix it in position.

Step 6: Set the Drip Rate
Use the valve or a knot to slow the flow. The usual drops per second for drip acclimation is:
- 2 to 4 drops per second for most freshwater and saltwater fish. This matches the rate LiveAquaria recommends of about 2 to 4 drips per second.
- 1 to 2 drops per second for very sensitive fish, shrimp and corals.
If you are unsure, go slower.
Step 7: Let the Water Volume Double
Wait until the container holds twice the water it started with. Pour out half of the mixed water (never into your tank) and let the drip run until the volume doubles again.
Step 8: Test the Water
Compare the container’s pH, temperature and salinity with your tank. When they are close, acclimation is complete. To understand what a healthy range looks like, see our guide to the ideal pH for a freshwater fish tank.
Step 9: Net the Fish Into the Tank
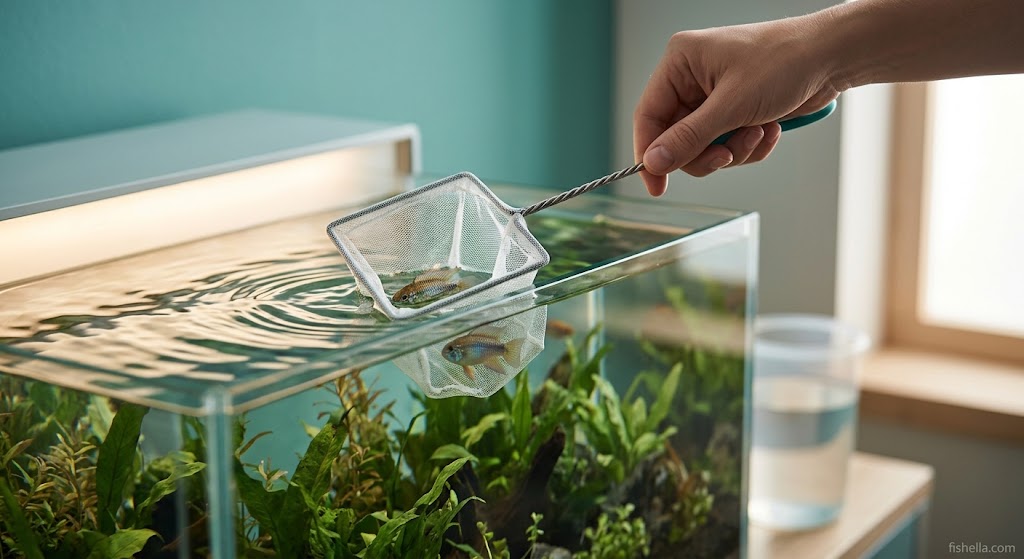
Use a soft net or small cup to move each fish into the aquarium. Do not pour the bag or container water into your tank. It can carry ammonia, disease and parasites.
How Long to Drip Acclimate Fish
Drip acclimation time depends on the species and how different the two waters are. Most sources suggest roughly 20 to 90 minutes for fish, while invertebrates need longer.
| Type of Animal | Typical Drip Time |
|---|---|
| Hardy freshwater fish (tetras, guppies, danios) | 30 to 45 minutes |
| Most community and saltwater fish | 45 to 60 minutes |
| Sensitive fish (discus, wild-caught, marine) | 60 to 90 minutes |
| Shrimp, snails, crabs | 2 to 3 hours |
| Corals and anemones | 1 to 2 hours, slow drip |
If you are wondering how long to drip acclimate fish, more time is not always better. Ammonia and carbon dioxide build up in a closed bag or small container, so do not stretch the process beyond what the species needs.
How to Acclimate Fish From a Pet Store
When you acclimate fish from a pet store, ask a few questions before you buy:
- What are the store’s pH and temperature?
- How long have the fish been in the store?
- Are they eating well and free of visible disease?
Get them home quickly, keep the bag dark and insulated, and start acclimating right away. If the bag has sat for a long time, ammonia may be high, so shorten the drip rather than extending it. Our guide to sudden ammonia spikes explains what to do if levels climb after you add new fish.
New fish should ideally go through a quarantine period before joining your main tank. Seriously Fish’s glossary entry on drip acclimation is a useful quick reference for the term.
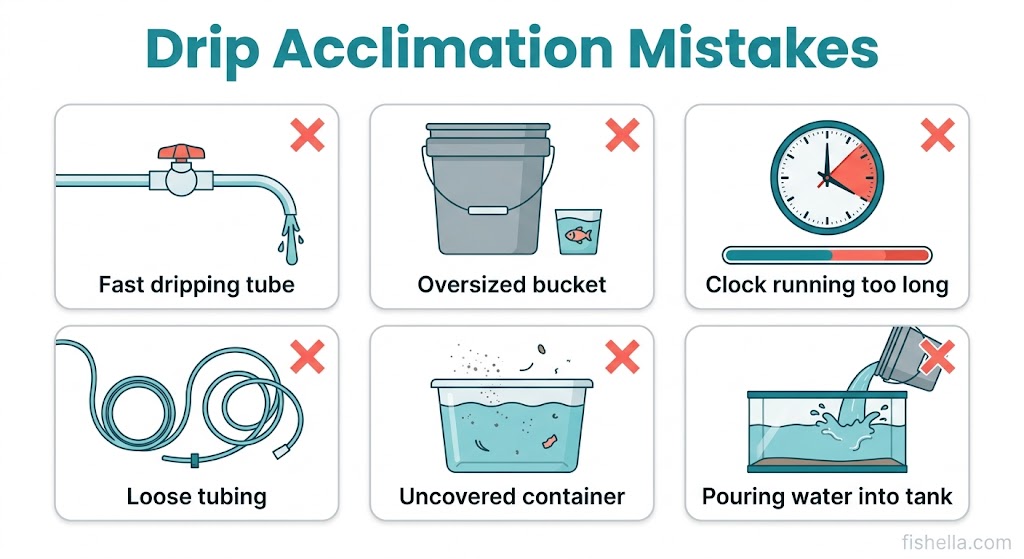
Drip Acclimation Mistakes to Avoid
These fish acclimation mistakes are specific to the drip method:
- Dripping too fast. More than about 4 drops per second defeats the purpose.
- Using a container that is too large. The water changes too slowly, and fish feel exposed.
- Letting the process run too long. Ammonia builds up in a small container.
- Leaving the tubing loose. If it slips out of the tank, the siphon stops and the drip ends.
- Skipping the water test. Without testing, you cannot tell whether the waters match.
- Leaving the container uncovered. Fish can jump out.
- Letting the tank water cool the container. In a cold room, the temperature can drop during a long drip, so check it during the process.
- Pouring the used water into the tank. Always discard it.
For general mistakes that apply to every acclimation method, such as skipping quarantine or overstocking, see our guide on water parameters.
What to Do After Drip Acclimation
Once the fish are in the tank, keep going:
- Keep lights dim for the first few hours.
- Hold off on feeding for 12 to 24 hours, then feed lightly.
- Watch their behavior. Normal swimming, steady breathing and good color are good signs. Gasping, clamped fins or hiding for a long time are not.
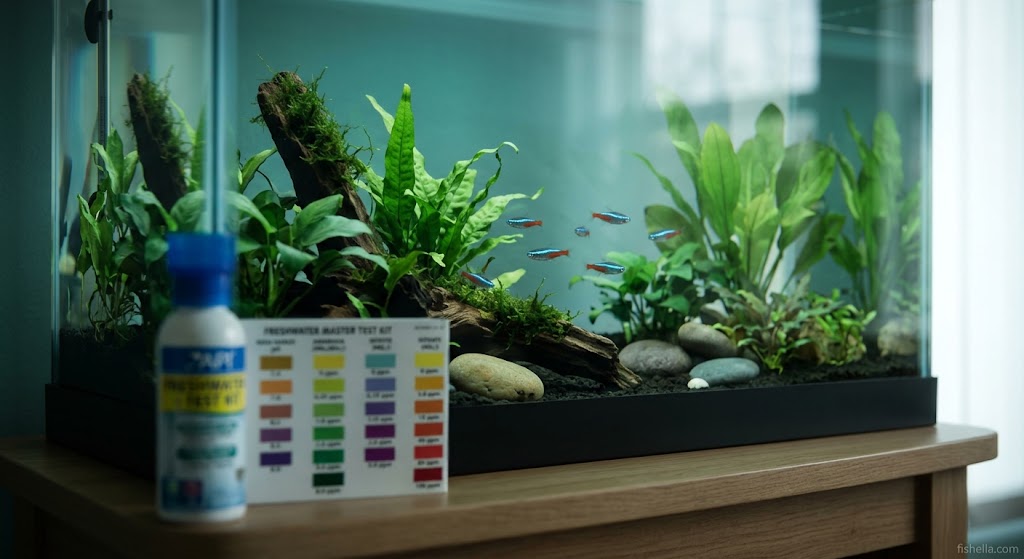
- Test ammonia, nitrite and nitrate daily for the first week.
- Avoid rearranging the tank or adding more fish for several days.
- Do a partial water change with dechlorinated, temperature-matched water if ammonia or nitrite appears.
Frequently Asked Questions
Is drip acclimation necessary for all fish? No. Hardy freshwater fish often do well with floating acclimation. Drip acclimation is worth the extra time for sensitive fish, saltwater species and invertebrates.
Can I drip acclimate without a valve? Yes. A knot in the airline tubing or a loose loop around a clip can slow the flow enough.
What if my fish look stressed during acclimation? Slow the drip, keep the lights low and keep the area quiet. If they look severely distressed, finish and move them into the tank.
Can I use the drip method for a betta? It is usually not the best choice, because bettas travel in small cups of water. Use our betta acclimation guide instead. For more on caring for them afterward, see the betta fish care guide.
How do I know acclimation worked? Active swimming, normal color, eating within a day or two and no gasping at the surface are all good signs.
Final Thoughts
Knowing how to acclimate fish with the drip method takes only a few extra minutes and sharply lowers the risk of losing new arrivals. Drip at 2 to 4 drops per second, match the time to the species, test your water and keep bag water out of your tank. Do those four things and your new fish have a much better chance of settling in quickly.